Custom PC Cables: Enhance Airflow & Aesthetics
Custom PC cables are essential upgrades that significantly enhance both internal aesthetics and airflow efficiency within a computer case, leading to improved performance and a cleaner build.
In the realm of PC building, the pursuit of optimal performance often goes hand-in-hand with an appreciation for aesthetics. One area where these two disciplines converge is with custom PC cables. Upgrading to custom PC cables: improve airflow and aesthetics with these simple upgrades, transforming a functional but ordinary internal layout into a polished, high-performance machine.
Advertisements
The dual advantage: aesthetics and airflow
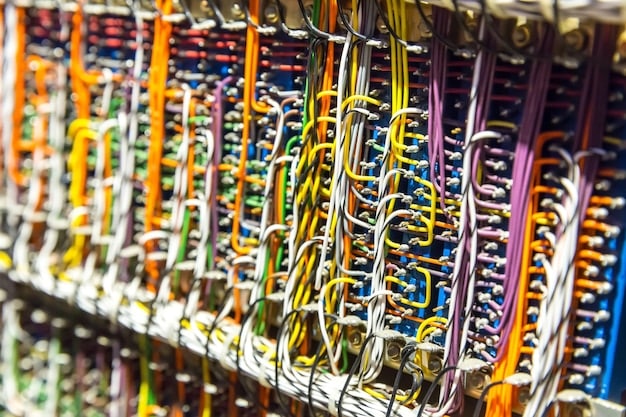
Custom PC cables offer a potent combination of visual appeal and practical benefit. While the eye-catching colors and clean lines are immediately apparent, their impact on internal airflow is often underestimated. Stock power supply unit (PSU) cables, with their often bulky, unsleeved bundles, can obstruct vital air pathways, leading to higher internal temperatures and potentially reduced component longevity. Custom cables, by contrast, are typically individually sleeved and more pliable, allowing for precise routing and a far less restrictive internal environment.
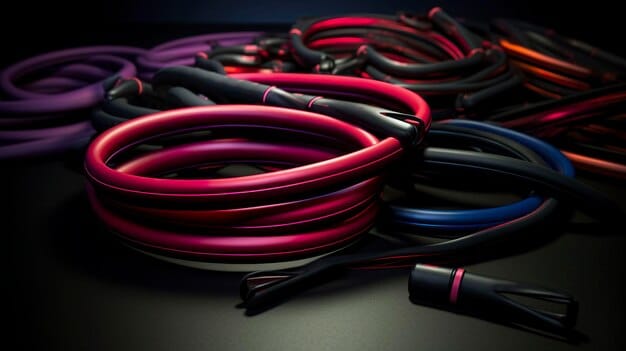
Individual sleeving, a hallmark of custom cables, means each wire within a bundle is encased in its own protective, often braided, sleeve. This not only makes the cables inherently more flexible, simplifying cable management, but also provides a premium, high-end look. The reduced bulk of these individually sleeved cables allows for tighter bends and flatter routing against the case walls or motherboard tray, freeing up space crucial for unimpeded airflow. This seemingly minor detail can contribute to lower operating temperatures for your CPU, GPU, and other sensitive components, potentially extending their lifespan and maintaining optimal performance under load.
Moreover, the availability of various colors and patterns for custom cables allows builders to integrate them seamlessly into their overall build theme. Whether aiming for a minimalist black-and-white setup, a vibrant RGB-synced masterpiece, or a subtle earth-toned design, there’s a custom cable solution to match. This level of customization elevates a PC from a mere collection of components to a personalized work of art, reflecting the builder’s unique style.
Understanding custom cable types and compatibility
Before diving into the world of custom cables, it’s crucial to understand the main types available and their compatibility with your existing hardware. The primary cables you’d typically replace are those connecting the power supply to the motherboard (24-pin ATX), CPU (EPS/ATX 4+4-pin), and graphics card(s) (PCIe 6-pin, 8-pin, 6+2-pin). Other common custom cables include SATA power cables for storage drives and fan cables, though the former three are generally the most impactful on aesthetics and airflow.
There are two main categories of custom cables:
Extension cables
These are the simplest and most accessible option for many builders. Extension cables plug into your existing stock PSU cables, effectively extending their length and providing the sleeved, custom look. They are universal, meaning they work with any power supply, regardless of whether it’s modular or non-modular. This makes them an excellent choice for those on a budget or who are not comfortable disassembling their PSU.
- Pros: Affordable, easy to install, compatible with any PSU, no risk of electrical damage.
- Cons: Adds extra connections, still requires managing the stock cables, can add bulk behind the motherboard tray.
Direct replacement (or individual) cables
These cables plug directly into a modular (or semi-modular) power supply, replacing the stock cables entirely. This offers the cleanest possible look and eliminates the need to manage bulky stock cables. However, direct replacement cables are specific to your PSU’s make and model. Using direct replacement cables from a different PSU can lead to severe damage to your components, as pinouts often vary between brands and even models within the same brand.
- Pros: Cleanest look, eliminates stock cable clutter, potentially better airflow.
- Cons: More expensive, PSU-specific (risk of damage if incorrect cables are used), requires careful verification of compatibility.
When selecting direct replacement cables, always verify their compatibility with your exact power supply model. Reputable custom cable manufacturers will list compatible PSUs, often by brand and series. Double-checking this information is paramount to avoid costly mistakes. Most manufacturers offer a wide range of colors and lengths, allowing for optimal fit and visual coordination.
Choosing materials and quality for longevity
The longevity and performance of custom PC cables depend heavily on the materials and the quality of their construction. While aesthetics are a major driver, neglecting the underlying electrical integrity can lead to instability or even component failure.
The core of any cable is the wire itself, typically copper. High-quality cables use appropriate gauge wiring for the power demands (e.g., 16AWG or 18AWG for main power cables) to ensure efficient power delivery and prevent overheating. Thin or substandard wiring can introduce resistance, leading to voltage drops and potential instability, especially for high-power components like modern graphics cards.
The sleeving material is equally important. Common materials include:
- Paracord: A durable nylon material that offers a cloth-like texture and a wide range of colors. It’s flexible and provides good abrasion resistance.
- PET (Polyethylene Terephthalate): A synthetic braided material that offers excellent heat resistance and a smooth, slightly glossy finish. It’s often used for a more “techy” look.
- MDPC-X (Modding-PC.com Xtreme): A premium PET variant known for its tight weave, vibrant colors, and exceptional durability. It’s a favorite among serious modders.
Beyond the raw materials, the quality of the crimping (where the wire connects to the pin in the connector) and the overall assembly are critical. Poorly crimped pins can lead to intermittent connections, power loss, or even arcing, which can damage components. Reputable custom cable manufacturers employ strict quality control measures to ensure every cable meets high standards for electrical performance and physical durability. When purchasing, look for brands known for their craftsmanship and positive community reviews, as this often indicates superior build quality and reliability.
The practical steps: planning and installation
Installing custom PC cables, while generally straightforward, benefits significantly from careful planning and execution. A well-thought-out approach minimizes frustration and maximizes the aesthetic and performance benefits.
Planning your cable purchase:
Before buying, determine exactly which cables you need. Count the PCIe power connectors on your graphics card(s), the CPU power connectors on your motherboard, and the main 24-pin ATX connector. Consider the length of each cable based on your case size and desired routing paths. Oversized cables can be harder to manage, while cables that are too short won’t reach. Many custom cable manufacturers offer standard lengths (e.g., 30cm, 50cm, 75cm), but some provide custom lengths for perfect fitment.
Consider the color scheme. Do you want them to match your components, or provide a contrasting pop of color? Sleeving styles (e.g., single color, striped, carbon fiber look) also contribute to the final aesthetic. Don’t forget cable combs – small plastic or acrylic clips that hold individually sleeved cables neatly in parallel, further enhancing the organized look.
Installation tips:
- Disconnect everything: Always unplug your PC from the wall before working inside the case.
- Remove existing cables: If using direct replacements, carefully unplug existing PSU cables from both the power supply and the components. Note their routing path and connections.
- Route new cables: Begin routing your new custom cables. Plan your paths to minimize bends and obstructions to airflow. Utilize cable management cutouts and tie-down points behind the motherboard tray.
- Utilize cable combs: As you route, use cable combs to keep individual wires parallel and neat, especially for the 24-pin and PCIe cables, which often have many strands.
- Connect securely: Ensure all connectors are fully seated into their respective ports. A satisfying click usually indicates a secure connection.
- Test: Before closing up your case, do a quick power-on test to ensure everything is working correctly.
Patience is key during installation. Don’t rush, and take your time to route everything neatly. The effort invested in careful cable management pays off in both aesthetics and long-term system health.
Beyond stock: advanced cable management techniques
While custom cables inherently simplify management due to their flexibility and individual sleeving, advanced techniques can push airflow and aesthetics further. These methods often involve maximizing hidden routing spaces and employing strategic tie-downs to achieve an almost invisible cabling setup.
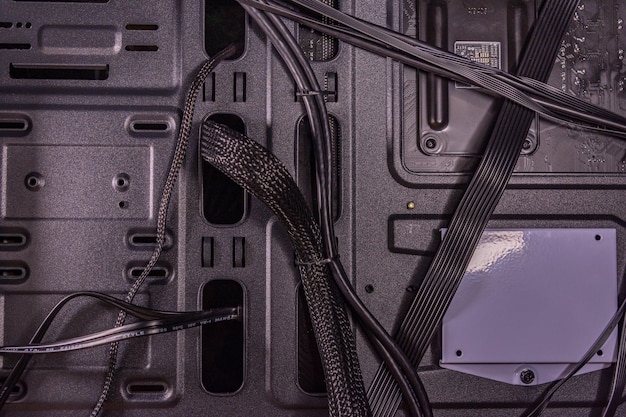
One such technique is “channel routing,” where cables are guided along the edges or through specific channels built into the case’s chassis, rather than simply bundling them. This not only keeps them out of the main airflow path but also creates a cleaner internal presentation. Modern cases often feature dedicated routing channels, Velcro straps, and numerous tie-down points behind the motherboard tray, which are excellent for this purpose.
Another advanced tip is to “train” your cables. Custom cables, even when flexible, can retain a memory of their last bend. By gently shaping them over time into their desired final position, they will hold that form better, contributing to a consistently neat appearance. This is particularly useful for stiff 24-pin ATX cables, which often require careful bending to achieve a clean look. Utilizing cable ties (zip ties or reusable Velcro ties) judiciously to secure cables to the case frame or other cables helps maintain their position and prevents them from sagging or interfering with fans.
For an even more extreme clean look, some builders pursue component-specific routing, where each cable follows the most direct, yet hidden, path to its component. This might involve custom-length cables designed to precisely fit a specific layout, minimizing excess length. While more time-consuming to plan and execute, the result is a PC interior that appears almost free of wires, showcasing the hardware itself as the centerpiece. These advanced techniques transform cable management from a chore into a meticulous art form.
Troubleshooting and maintenance of custom cables
Even with the highest quality custom cables, occasional troubleshooting or maintenance might be necessary to ensure continued optimal performance and aesthetics. Understanding common issues can save time and prevent potential problems.
Common troubleshooting scenarios:
- Poor connection: If a component isn’t receiving power or is unstable, check that the cable is fully seated at both the component and the PSU ends. Sometimes, a tiny bit of misalignment is enough to cause issues.
- Intermittent power: This can be frustrating and may indicate a faulty cable or connector. If you suspect a cable issue, try swapping it with a known good cable (if you have one, or an old stock cable) to isolate the problem. Never mix cables from different PSU brands.
- Bent pins: Be gentle when plugging and unplugging cables. Bent pins on connectors can prevent a proper connection. If a pin is slightly bent, you might be able to gently straighten it with fine tweezers, but extreme caution is advised. If severely bent or broken, the cable should be replaced.
Maintenance tips:
- Dust accumulation: Even sleeved cables can accumulate dust. Use compressed air to regularly clear dust from around cables and components, especially in areas where airflow might be slightly restricted.
- Cable routing check: Periodically check your cable routing. Over time, vibrations or slight shifting can cause cables to sag or touch fan blades. Adjust as needed to maintain optimal airflow and prevent noise.
- Cleaning sleeves: If sleeves become dirty (e.g., from fingerprints or dust buildup), a soft, dry microfiber cloth can often clean them gently. Avoid liquid cleaners unless specifically designed for electronics, as they can potentially damage the sleeving or internal wiring.
By staying vigilant with these maintenance practices, your custom cables will continue to look fantastic and contribute positively to your PC’s airflow and overall health for years to come. The initial investment in quality cables and careful installation pays dividends in long-term satisfaction and system stability.
| Key Benefit | Brief Description |
|---|---|
| ✨ Enhanced Aesthetics | Individually sleeved cables offer a clean, personalized look, transforming internal PC visuals. |
| 🌬️ Improved Airflow | Slimmer, more flexible cables allow for tidier routing, reducing airflow obstructions. |
| 🛠️ Easier Cable Management | Their flexibility and individual sleeving simplify routing and organization within the case. |
| ✅ Component Longevity | Better airflow leads to lower temperatures, potentially extending the lifespan of PC components. |
Frequently asked questions about custom PC cables
▼
Custom cable extensions plug into your existing PSU cables, offering a custom look without replacing the stock wires. Direct replacement cables, conversely, entirely replace your PSU’s original modular cables, plugging straight into the power supply for the cleanest possible setup. Extensions are universal; replacements are PSU-specific.
▼
Yes, significantly. Standard PSU cables are often bulky and stiff, obstructing airflow paths within your PC case. Custom cables are individually sleeved and more pliable, allowing for tighter, more organized routing. This reduces internal clutter, creates clearer pathways for air circulation, and can lead to lower operating temperatures for your components.
▼
Custom cable extensions are compatible with virtually any power supply. However, direct replacement custom cables are PSU-specific. The pinouts (the wire configuration) vary between power supply brands and even models. Using direct replacement cables not specifically designed for your PSU can cause severe damage to your PC components.
▼
Common materials include paracord (for a soft, cloth-like look), PET (polyethylene terephthalate) for a smoother, slightly glossy finish, and premium PET variants like MDPC-X, known for their tight weave and vibrant colors. The choice often comes down to desired aesthetic and texture, though all provide good protection and flexibility.
▼
Installing custom PC cables is straightforward but requires patience and attention to detail. The process involves routing cables neatly, often behind the motherboard tray, and connecting them securely. Cable combs help maintain organization. While not technically challenging, careful planning ensures optimal aesthetic and airflow benefits.
Final thoughts on transforming your build
Embarking on the journey of upgrading to custom PC cables is more than just an aesthetic endeavor; it’s a strategic enhancement that yields tangible benefits for your system’s performance and longevity. From the immediate visual gratification of a meticulously organized interior to the subtle, yet significant, improvement in thermal management, these “simple upgrades” truly elevate a PC build. They demonstrate a builder’s dedication to both form and function, turning an ordinary machine into a testament to personal craftsmanship. The investment of time and resources into custom cables pays dividends not only in pride of ownership but in the continued smooth operation of your high-performance hardware.


